This is the third and last part of setting up your email campaign and it’s the most important: Importing your subscribers.
The number of subscribers you have will determine the number of emails that you’ll be sending out. Remember that the more emails you send out, the wider your your company’s information will spread. Don’t hesitate to import a large number of subscribers, the more the merrier!
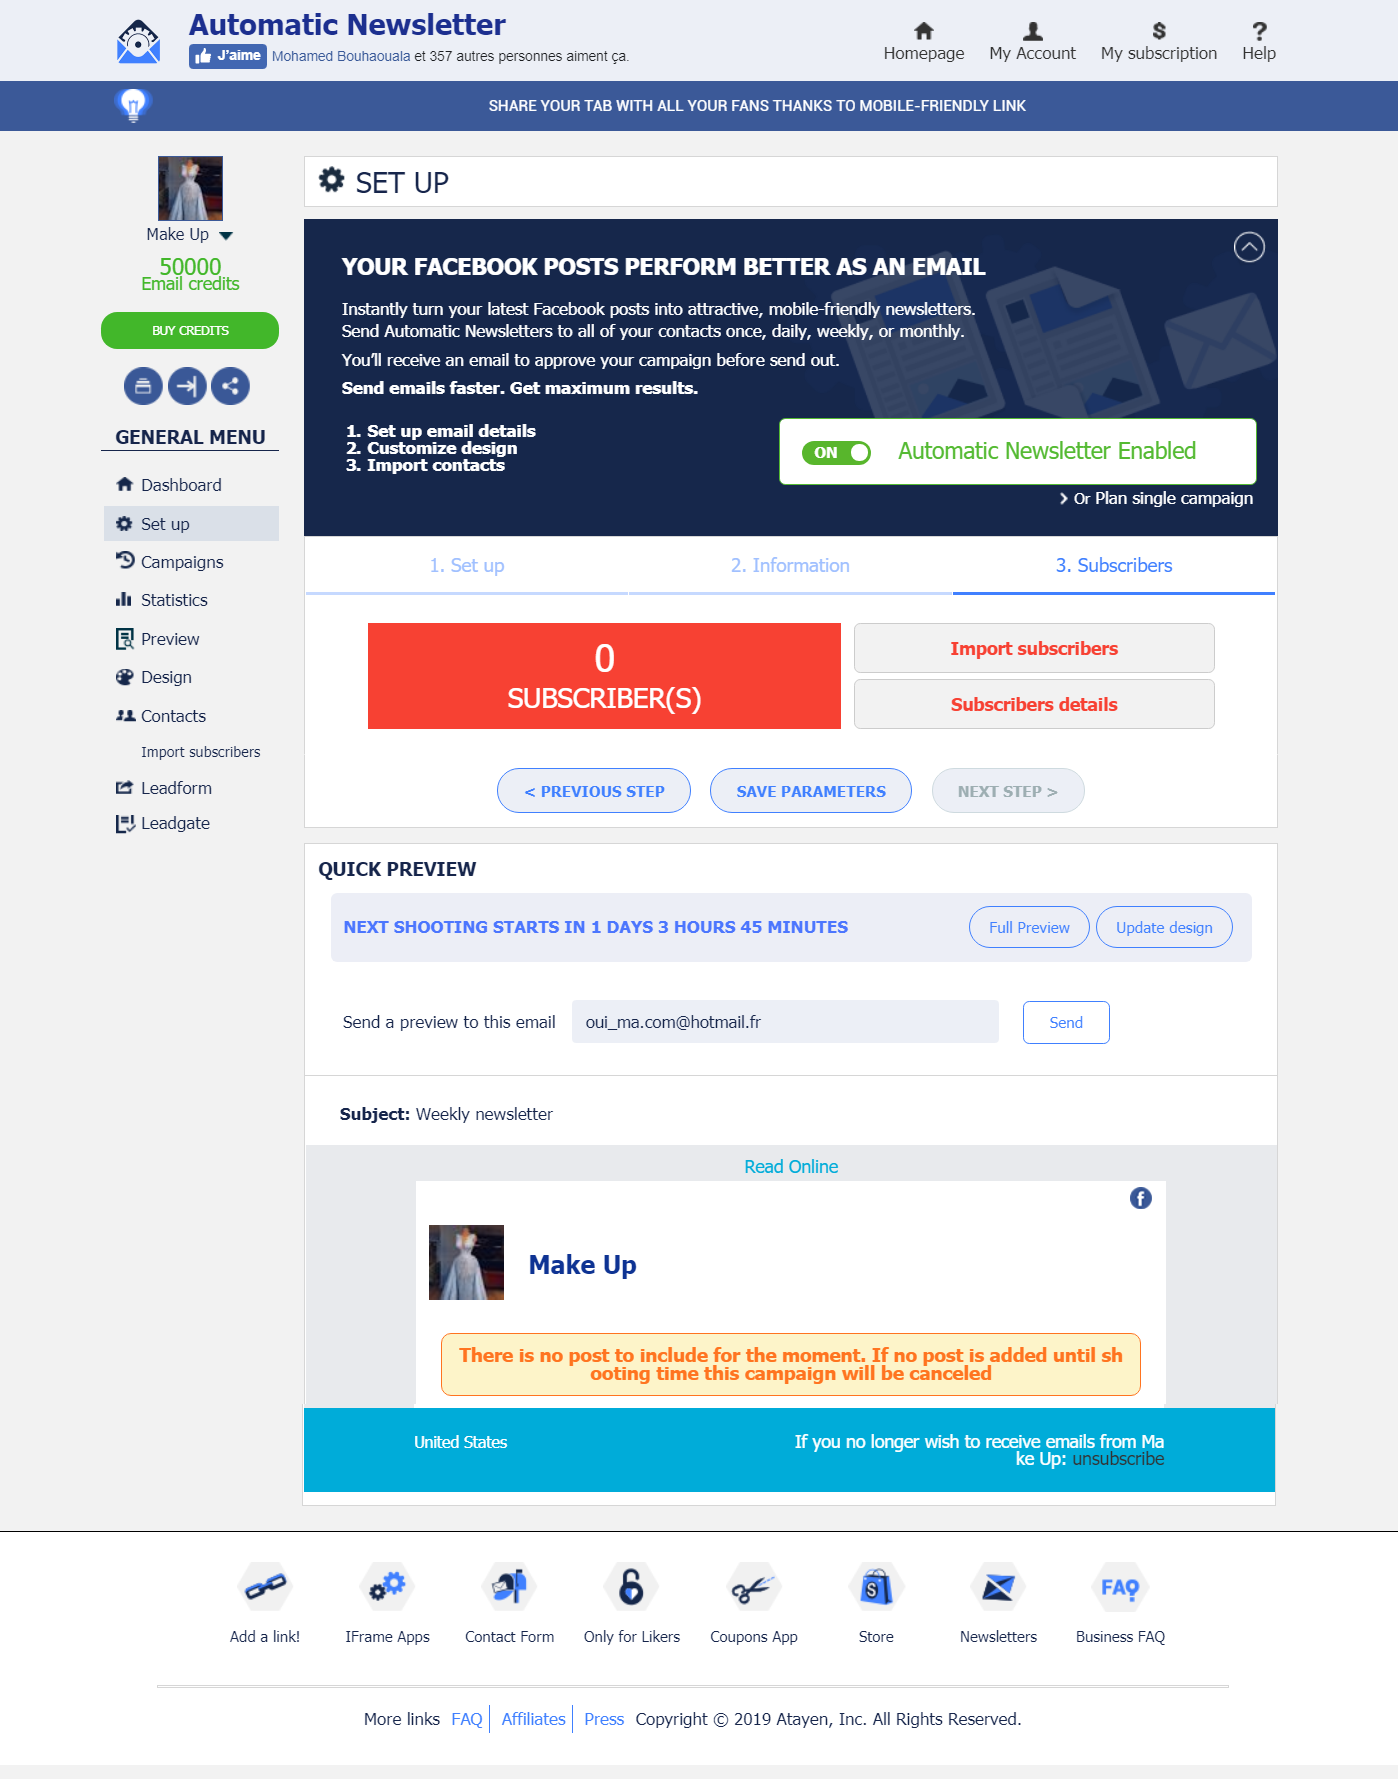
To view and manage your list of subscribers, click on Set up on the left side main menu, then click on the Subscribers tab.

then click on the import Subscribers button.

This tab contains:
- The current number of subscribers for you newsletter
- A link to view the list
- Link to import subscribers
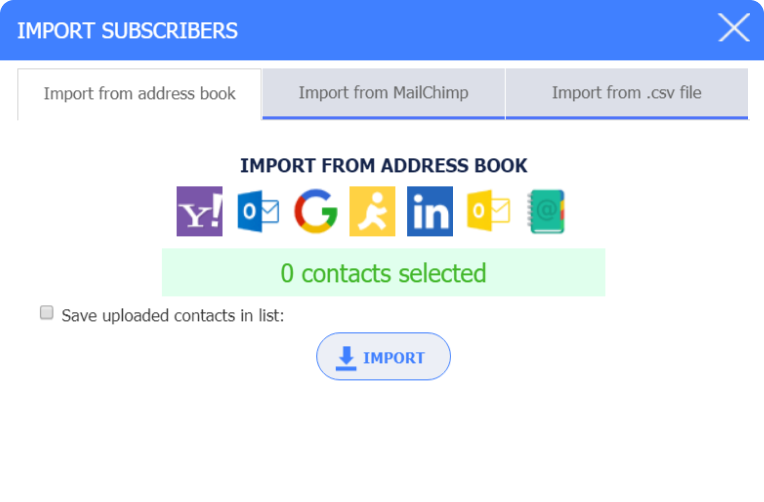
You also have the ability to import new contacts directly into your subscriber list. You have the options to import contacts through your email address book or through a .CSV file.
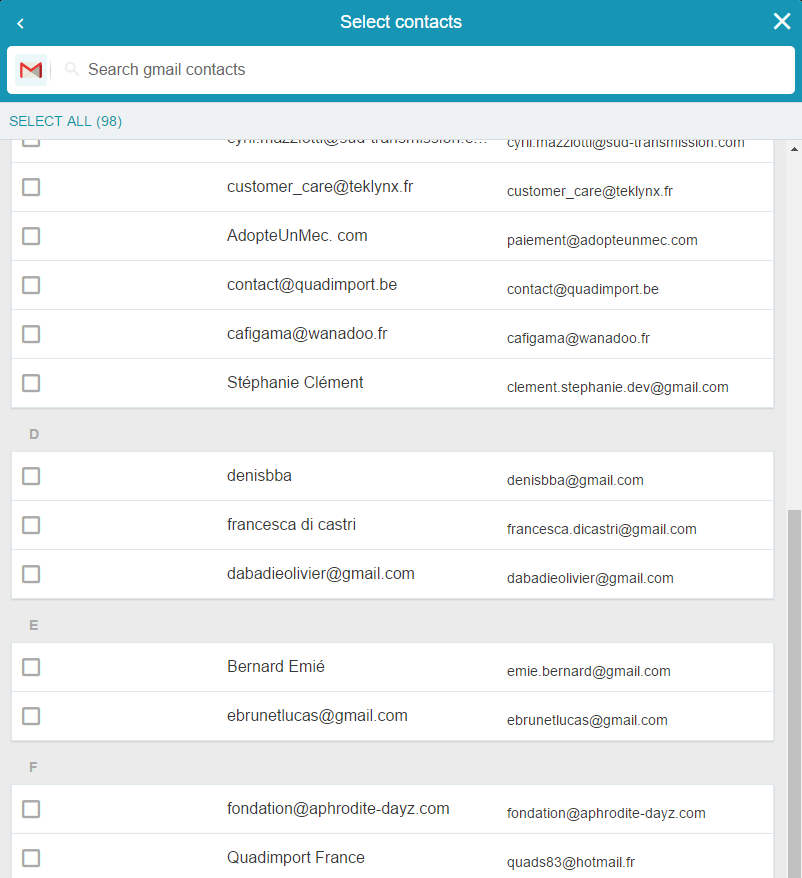
If you import contacts via an address book, you will open a window with a list of email providers, select yours, login with your email and password, and then select the contacts you wish to import from your address book.

Once you’ve chosen your contacts to import, click “Next”. You’re contacts will quickly import to your Subscriber list.
Then you’ll choose: import more subscribers to a new list or Validate and continue.
Once you’re finished importing subscribers, return to the dashboard of the application. If you think that you’ll need more credits based on the number of subscribers you have and the amount of emails you want to send, you can always purchase more email credits on the left main menu from “Buy credits”.